


One of the key factors to having a well rendered wholesome image is, adjusting the texture material of objects, orienting them and placing them in the right direction to produce the best value for your scene.
This especially holds value for designers who work closely with wood materials.
In this blog, we will learn how to resize textures in Sketchup step by step.
1. Applying Texture Material
If you are a beginner with the Sketchup interface or you’re using the texture materials for representation purposes only, the materials tab under the default tray is the perfect way to do it.
To access the material tab ( incase it isn’t displayed on the right side of your Sketchup file) Go to – Windows > Default Tray > Materials

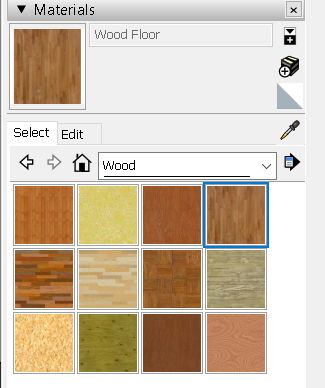
The Materials tab consists of various materials used in modelling exterior and interior spaces.
In this case we have selected the ‘Wood Floor’ material.
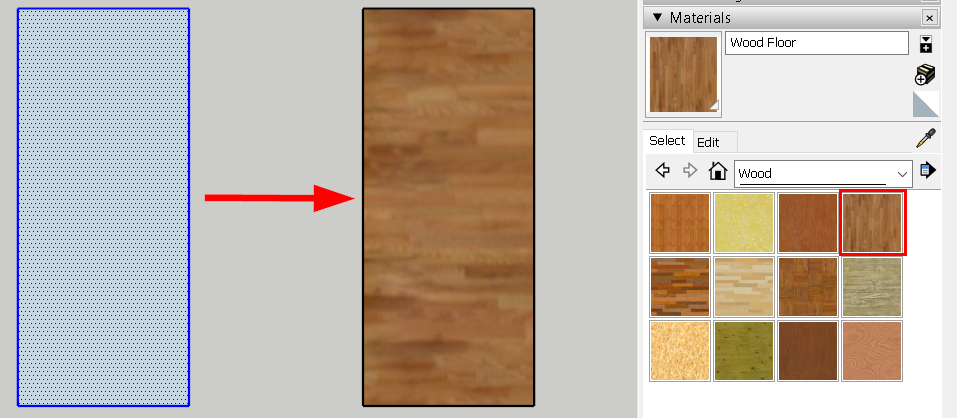
To apply the material follow the steps shown below:
- Select the face of the object
- Select the Texture material you want to apply (Wood Floor)
- And Simply click on the Modeled object.
Note : If your object is in a group DO NOT APPLY the textured material on it, Instead double-click or triple-click the object to enter the group and then apply the texture.
This ensures that the material is applied directly on the face of the object and not on the group.
2. Orient Textured Material
As you probably noticed, the applied textured material is oriented horizontally.
If you wish to change the orientation of the textured material vertically follow the steps shown below:
- Make sure to select the face of object and not the group. Double click to enter the group and then click once more to select just the face.
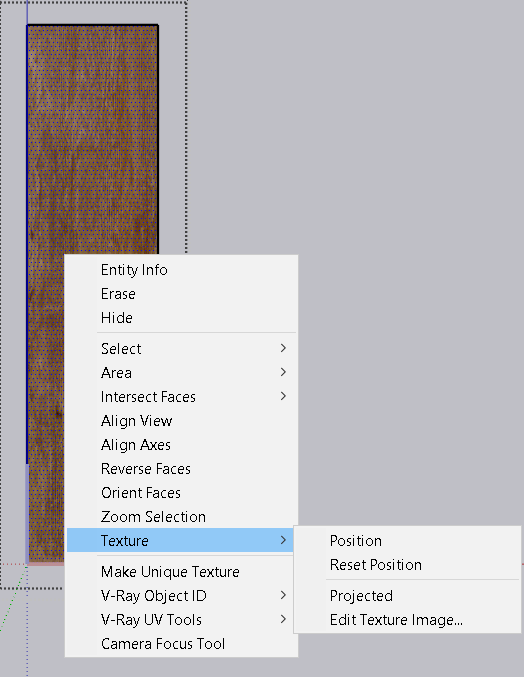
- Right click on the object once you have selected the face.
- Select Texture> Position

3. Use the Green Pin to Orient Texture

If the pins appear to be all white, simply right click and select the fixed pins option
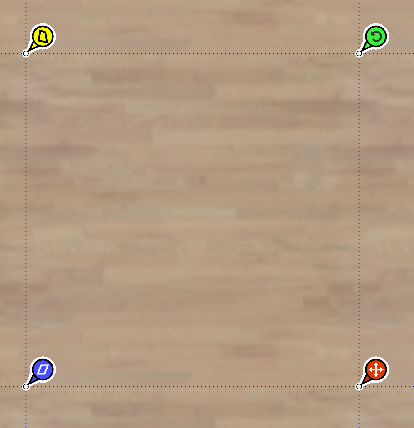
The above image is what the pins should look like
The easiest method to orient your material is by :
- Selecting Texture > Position
- Make sure all the pins have a specified color
- Right Click and select Rotate
- Under the rotate option you can orient your texture to 90<180< 270 °

4. Functions of Pins
- Yellow – This pin alters the waveform of the texture creating a distortion in your material.
- Blue – Allows you to scale/ Sheer the texture.
- Red – The Red pin is considered as the starting point, meaning the texture will begin to orient itself from the red pin.
- Green – This is the ideal pin to use to orient your texture, as it not only scales but also allows for orientation of your texture.
Note: Consider using only the green pin to orient your material.
If you do unfortunately mess up the orientation of your texture and pins, you can right-click and reset to default.
5. Texture Option Does Not Show Up
To ensure this step is followed correctly, make sure to enter the group by double clicking on the object and then clicking once more to select only the face of the object.
After this, right click and scroll down the option menu.
You will notice that the texture option is not visible in some cases like the image below.


In this case, we can simply click on the ‘Make Unique Texture’ option and ‘Create Texture’.
Now you can select the face of the object, right click and the texture option will show up .
If you would like to learn how to create photorealistic renders, do check out our premium Sketchup & Vray Course for Interior Design
Check out our other Vray blogs which you might find useful.