Have you been frustrated creating openings in Sketchup and couldn’t figure out how to do it no matter what you tried?
In this blog, we will look at the top 5 ways how to create openings in Sketchup, starting with the easiest way and we’ll work our way to using plugins and more.
Here are the top 5 ways to Create Openings in Sketchup (Video at the bottom of the post)
The Free Way
1. Using the Rectangle & Push/Pull Tool.
Once we create a wall and make it a group, the easiest way to create an opening is by simply drawing a rectangle on top of the wall (inside the group) and then pushing it out using the push/pull tool.
But the biggest mistake most students commit is that they make the rectangle outside the group as a separate entity. And when they try to push out the rectangle, it creates a box instead of an opening
The biggest problems most students face:
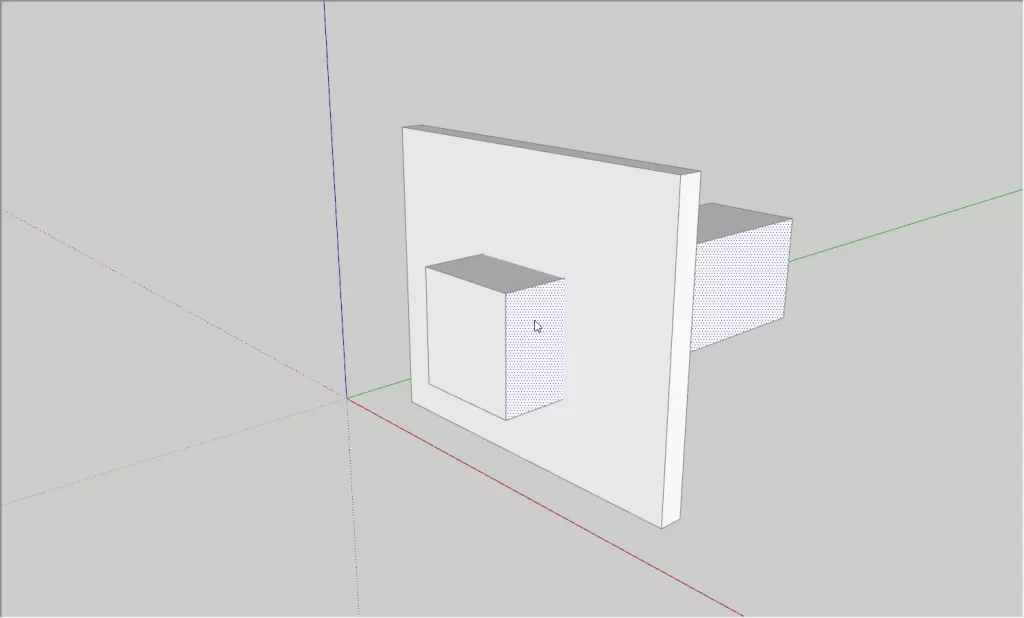
It’s always important to first enter the group (we will see a dashed line bounding box) and then create our opening. I’ll explain it in steps below
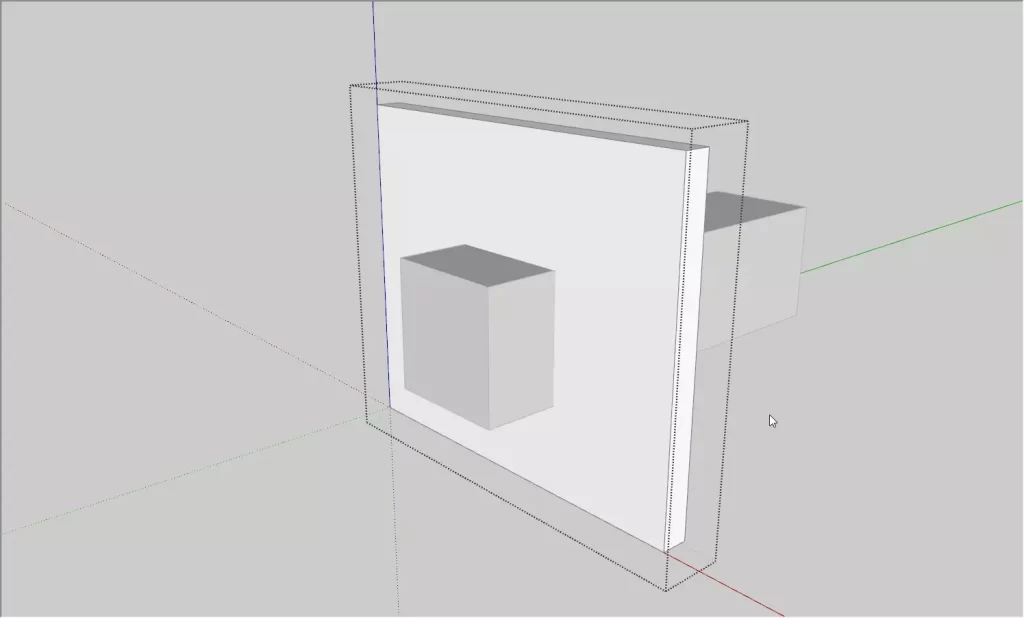
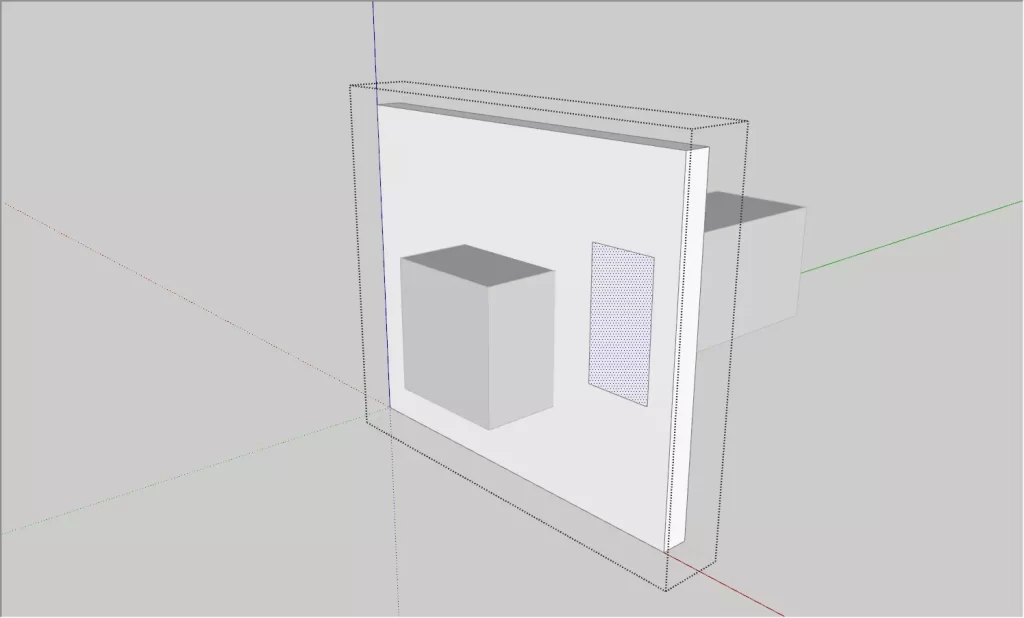
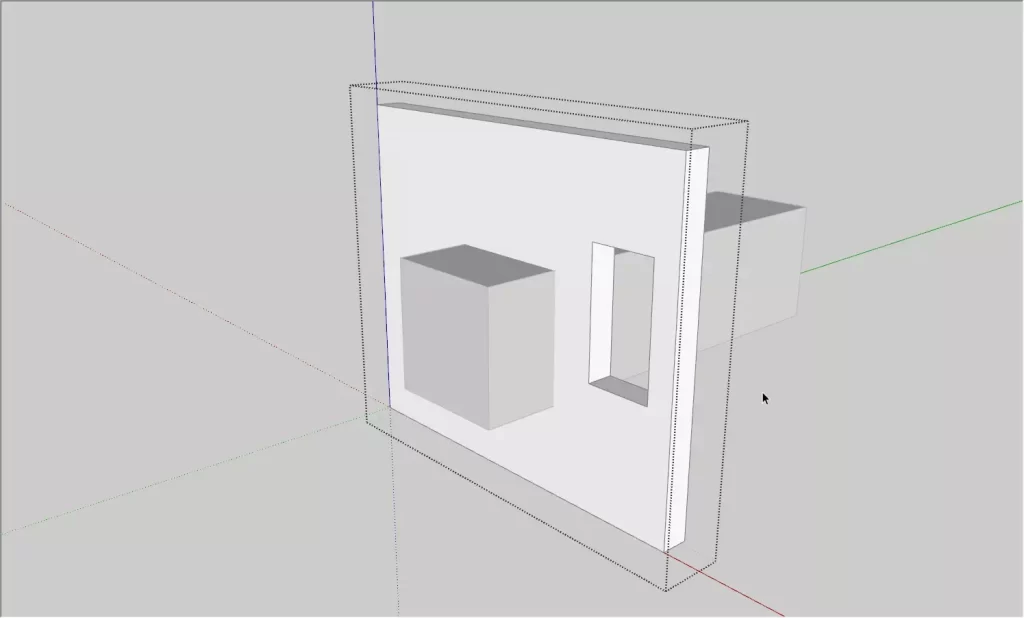
Voila! We have our opening!
If you haven’t made a group yet, then you can simply draw our rectangle on any face and then push it out to create the openings.
2. Using Solid Tools
Solid tools is a great way to create openings fast.
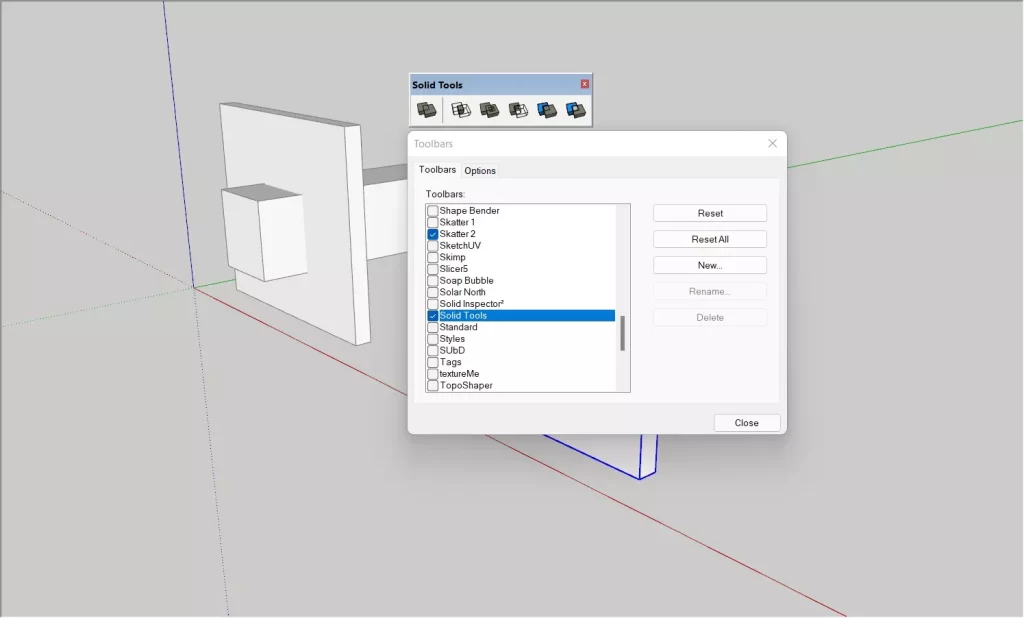
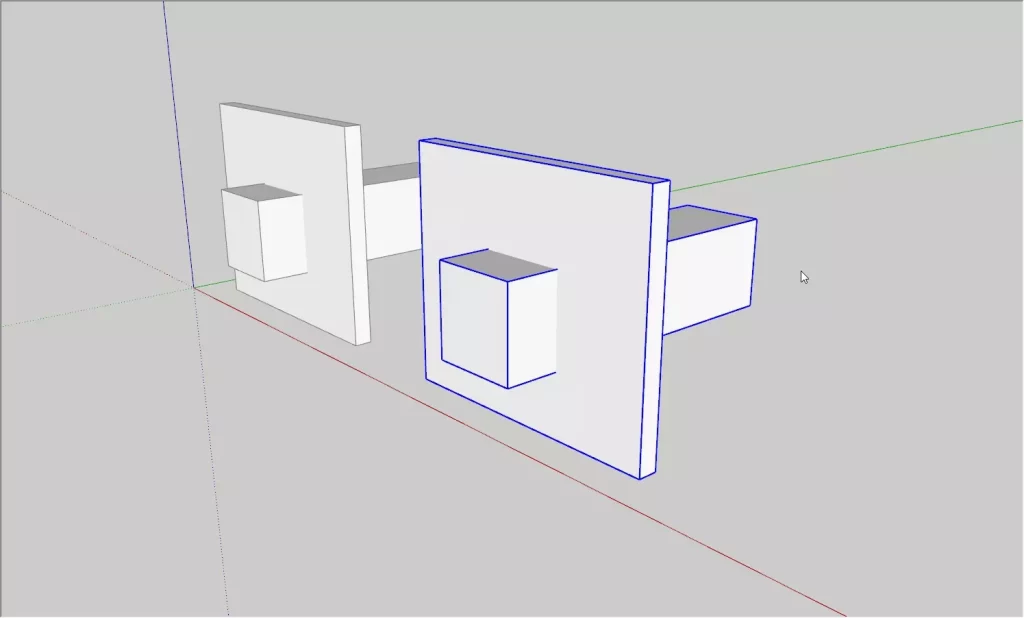
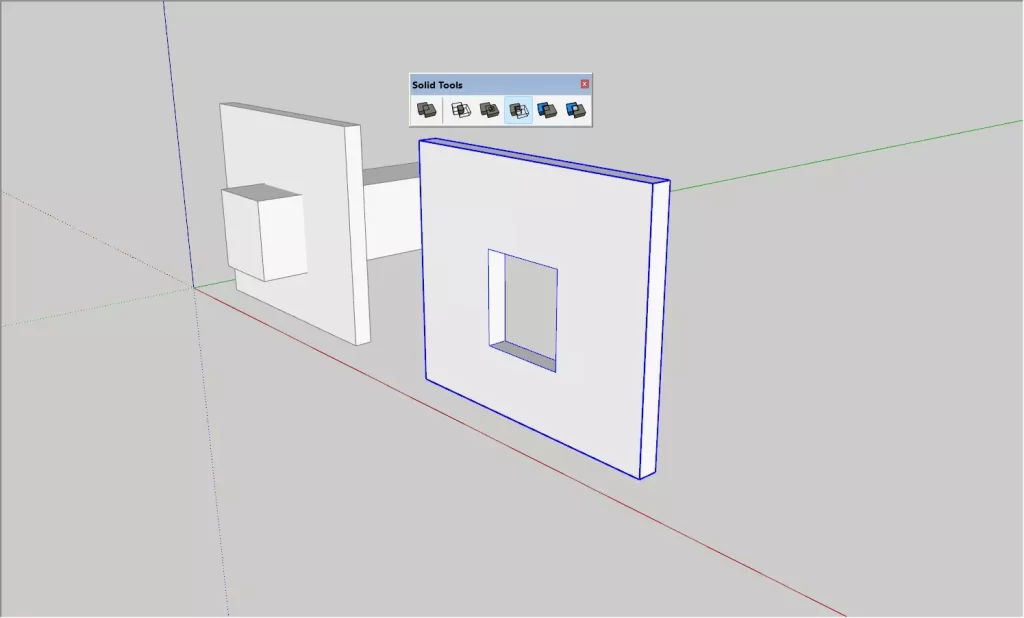
We need to select the cutting group first and then select the wall group to create our opening. It’s as simple as that.
It is important that both your groups are ‘solid groups’, else the subtract feature will not work.
The Paid Way
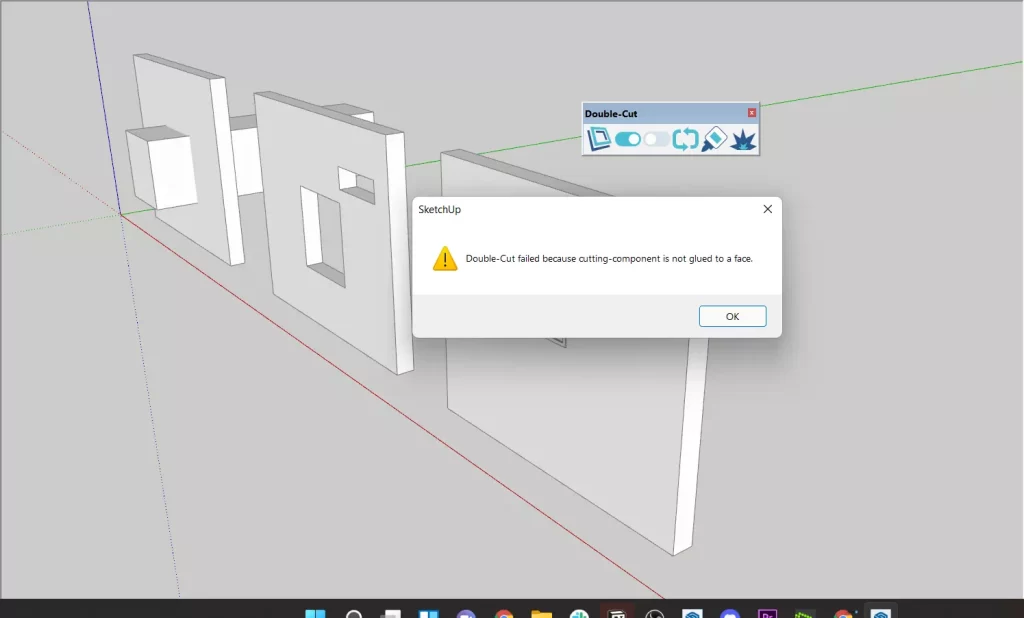
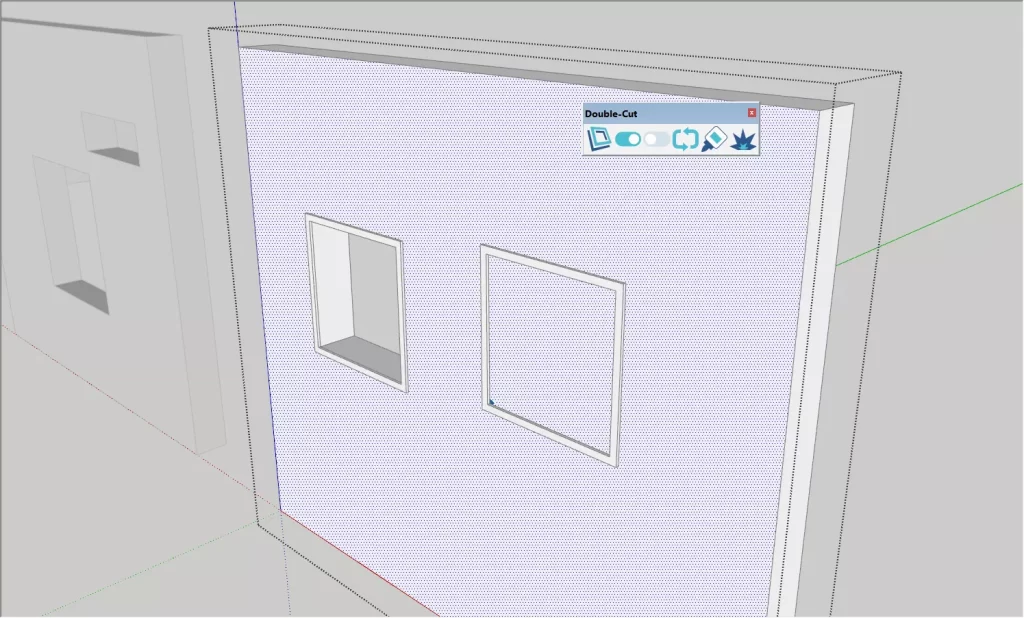
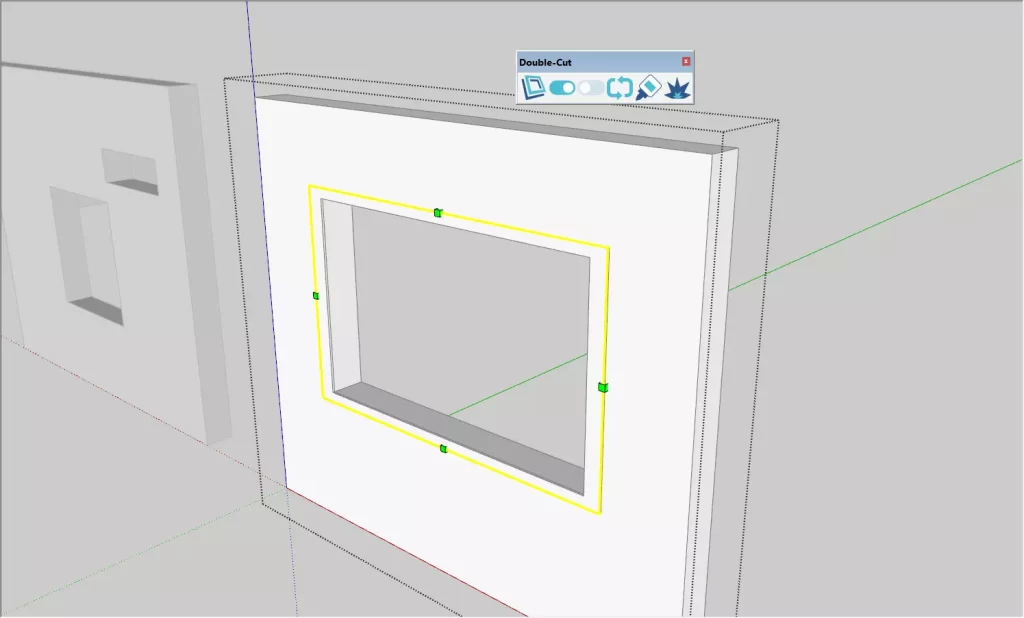
3. Using the Double Cut Sketchup Plugin
Using the double-cut plugin can enable you to create openings in Sketchup super fast.
4. Using Booltools from Mindsight Studios
The booltools works similar to the native solid tools in Sketchup. Here are the features that it includes which makes it stand out from the Solid tools.
- Union, Difference, Intersection, Trim, Split
- Designed with 3D Printing in mind to work with small complex objects (no more scaling workarounds!)
- Works with nested solids!
- Does not create new components! The original component is modified as expected.
- Maintains the Layer and Names of the first object selected
- New Single Object Union tool (click a single group or component to union all nested solids inside of it)
- Results in solid 3D printable objects in almost all cases (if the original objects were also solids)
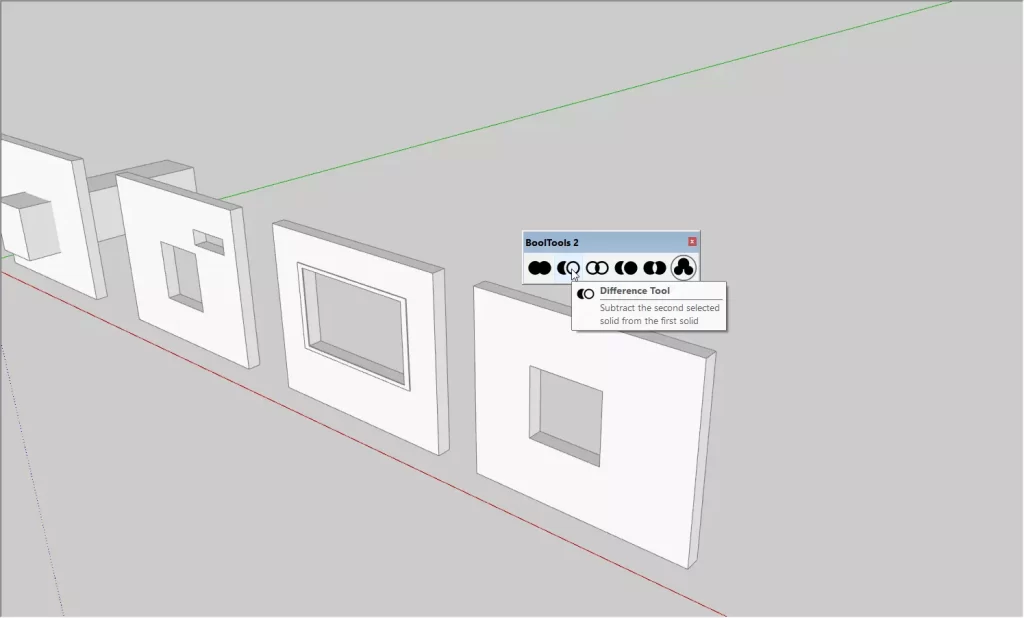
It works the other way when compared to the Solid tools.
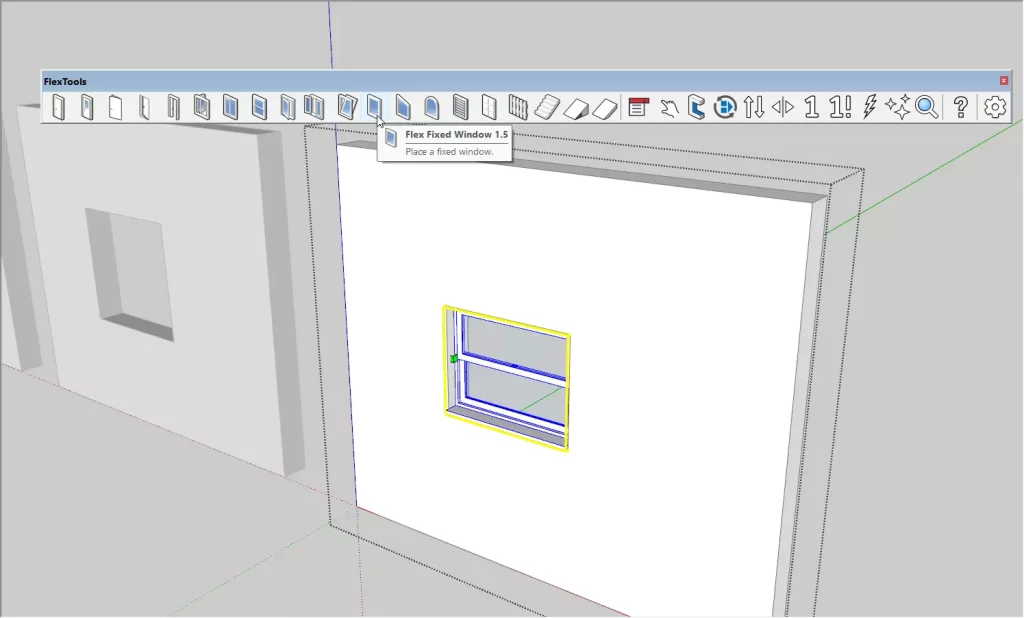
5. Create Smart Openings in Sketchup with Flextools
If you’re feeling lazy to create your openings and windows, then flextools is an awesome plugin to use.
Bonus: Intersect Faces
I rarely use this option but it’s a great way to create openings, especially when you’re doing it on a curved surface.
Intersect Faces makes new geometry from existing geometry. It takes faces you’ve selected and creates edges wherever they intersect.
Intersect with Model
Creates edges everywhere your selected faces intersect with other faces in your model — whether the other faces are selected or not.
Intersect with Selection
Only creates edges where selected faces intersect with other selected faces. This is handy if you’re trying to be a little bit more precise.
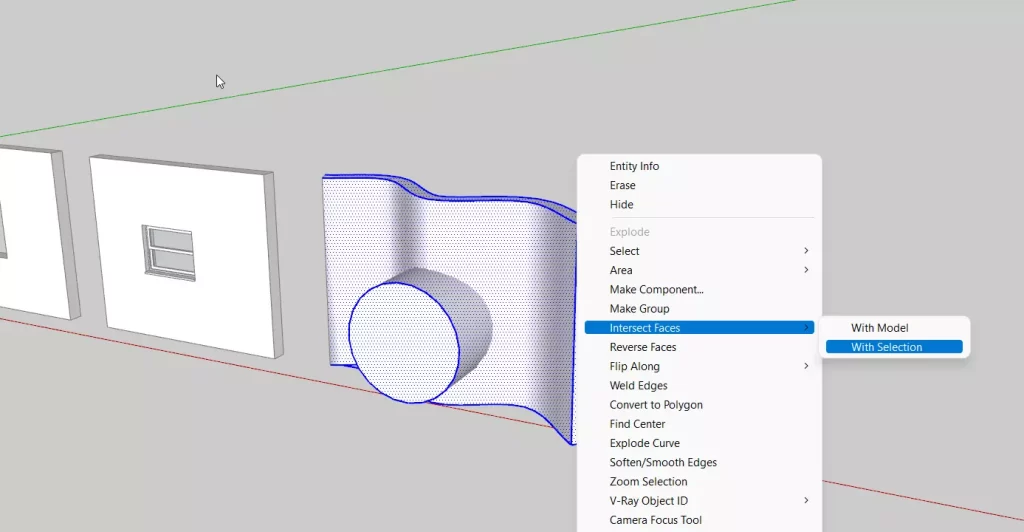
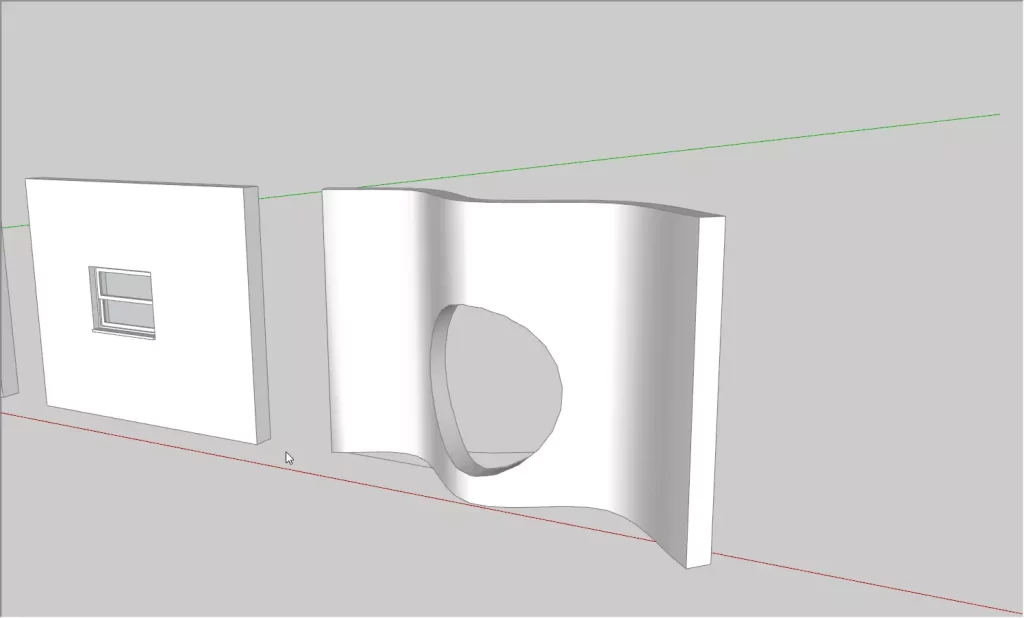
Intersect Faces doesn’t have a button. To use it, you have to either
Right-click and choose Intersect Faces.
Choose Edit→Intersect Faces.
Now you know 6 awesome ways to create openings in Sketchup. I would highly recommend that you start using paid plugins to boost your productivity and save time in the long run. It really helps!
Check out our premium Sketchup & Vray Course for Interior Design.
Don’t forget to check our other Sketchup & Vray blogs if you found this one useful.


